How to Grant Access to a Student Unable to Access the System
If a student is unable to access the system, they will get a gray error notification like the one shown below. This is caused by one of two issues.
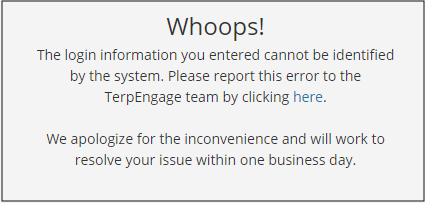
Issue: Student does not exist in TerpEngage.
-
Cause: A student who does not exist in TerpEngage may not meet the conditions for their data to be automatically created in TerpEngage during the nightly refresh. Student data is selected for TerpEngage if:
-
They have a term enrollment of either Registered, Withdrawn, or Canceled within the last 10 years.
-
If they have a valid admission within the active terms of admission. For undergraduates, it is only if the student has confirmed their admission. For graduate students, it is when they have an Admitted status.
-
-
Solution: Create an appointment with the advisee through Google Calendar and keep appointment notes separately.
Issue: Student exists in TerpEngage but has not been given a TerpEngage (Salesforce) License.
-
Cause: Simply put, this student was missed in the series of integrations and automations created since TerpEngage went live. An automation was created in August 2020 to create licenses for any new students imported to TerpEngage from August 2020 forward. Therefore, any student whose data was brought into TerpEngage since August 2020 (because they met conditions 1 or 2 above) were automatically provisioned with a TerpEngage login license. Students whose data were brought into TerpEngage before August 2020 were subject to manual user provisioning at specific times of the year (e.g., before orientation). If that particular student had canceled or withdrawn from classes during that period of time, they may not have been given a license.
-
Solution: Grant a student access through the following steps:
-
Open the Advising Case by searching the student’s name in the search bar at the top of the page and clicking the result with the Advising Case icon,
 , attached.
 -
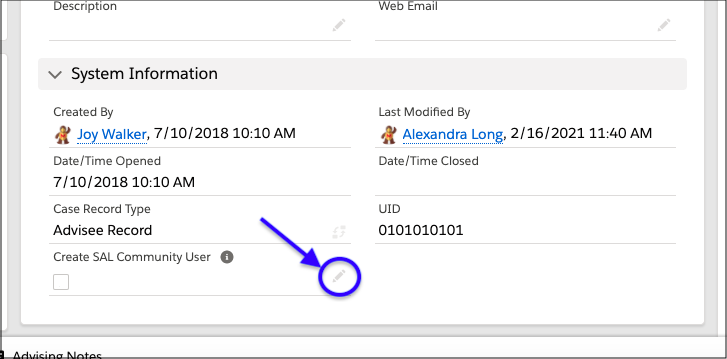
Scroll down to the bottom of the screen.
-
Click the small pencil corresponding to the Create SAL Community User checkbox.
-
Check the Create SAL Community User checkbox.
-
Click Save.
-
The student should now be set up in TerpEngage.
-
If you have any further issues, you may open a ticket by emailing a full description of your issue to TEadvisingsupport@umd.edu.