Where to View Your Appointments
-
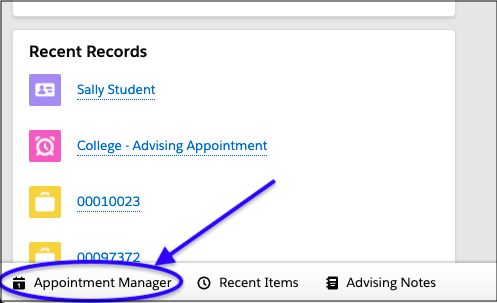
Click Appointment Manager in the lower-left corner of your screen.
-
This is Appointment Manager. All of your appointments appear here. More information about it can be found below.
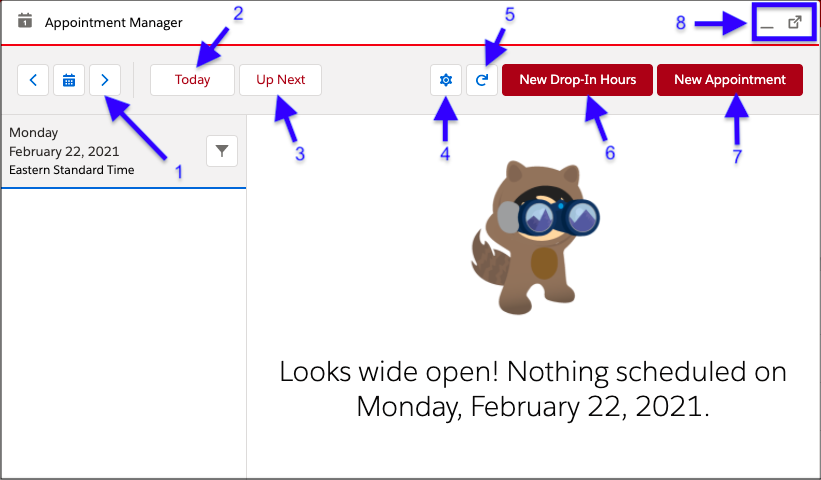
Appointment Manager
Appointment Manager is a feature of TerpEngage that helps advisors keep track of their appointments. To open Appointment Manager, click Appointment Manager found in the lower-left corner of the screen anywhere in TerpEngage.
-
When you select an appointment, its information will appear on the right where the image above says “Looks wide open!”
-
The blue date selector arrows and calendar allow you to select a date to view your appointments for.
-
You can click Today to be taken to the appointments you have on the current day.
-
Clicking Up Next will automatically take you to your next appointment.
-
Clicking the small gear icon will open up your Availability Settings. More information about Availability can be found in the section about Appointment Availability.
-
Be sure to periodically refresh by clicking the small refresh arrow next to the gear.
-
The New Drop-In Hours button is how advisors log Walk-In / Drop-In appointments in TerpEngage. More information on this can be found in the section about how to log a Drop-In appointment.
-
One way you can schedule advising appointments is through Appointment Manager by clicking New Appointment. You are also able to schedule an appointment through a student’s Advising Case. More information about scheduling appointments can be found in the section about creating appointments.
-
Clicking the minimize button (on the left side of the blue box) will close Appointment Manager. Clicking the launch button (on the right side of the blue box) will launch Appointment Manager in a separate window.
Appointment Notifications
All appointment-related actions automatically trigger an email notification for both the student and the advisor. This means that, unless notification settings are edited, notifications are sent from the system any time an appointment is scheduled, rescheduled, or canceled. Advisors can configure their appointment notification settings through Availability as detailed in the instructions below.
-
Open Appointment Availability Settings by clicking Appointment Manager in the lower-left corner of the screen, then click the small gear icon in the window that appears.
-
Scroll to the bottom of the page.
-
This is where all of the notification settings are. Be sure to click Save to save any changes to the settings.