-
Navigate to Appointment Manager and click the small gear icon to open your Appointment Availability Settings.
-
If you see a pop-up window, click Continue. This means you haven’t accessed your settings since the March 2021 update.
-
Scroll down to “Appointment Locations.” All of your previous locations will be here labeled as “Other” unless you have changed them since the update.
-
It is best to edit and reconfigure your EXISTING locations before creating new ones. When editing, ensure that the correct location type is selected (Virtual, Phone, In-Person, or Other). In most cases, your existing locations have already been assigned to appointments, so editing an “Other” Zoom location to “Virtual” will ensure the cleanest transition to the new location setting. TerpEngage will not let a user delete a location that is related to future appointments, so it’s safe to attempt to delete a location if needed. Information about how to complete fields in this window based on appointment type begins on step 6.
-
You can add additional locations, if needed, by clicking New as shown below.

-
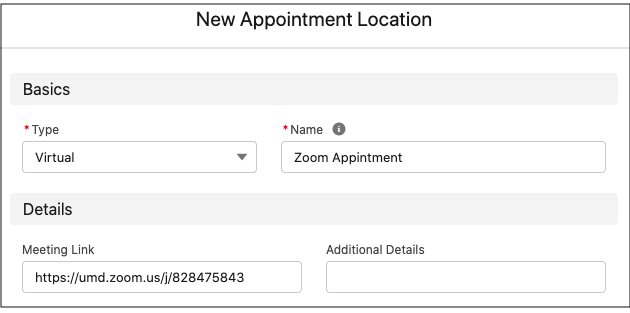
Virtual appointment (Zoom Locations) fields:
-
Type: Virtual
-
Name: Zoom Appointment; Virtual Appointment; etc. It is suggested that you give locations meaningful names as they are visible to students.
-
Meeting Link: Your personal meeting URL copied from the video conferencing platform you use
-
Additional Details: Not required
-
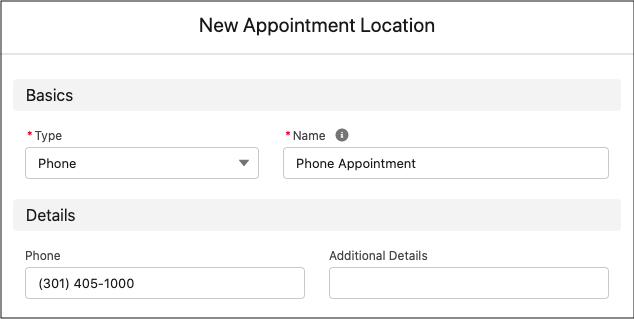
- Phone appointment fields:
-
Type: Phone
-
Name: Appointment; Phone Appointment (555) 555-5555. It is suggested that you give locations meaningful names as they are visible to students.
-
To prompt the student to leave their phone number, use this in the "Name" field: “Phone - Please include your phone number in the Comments.” These Comments are viewable in your TerpEngage and Google Calendars.
-
-
Phone: Your phone number (if you prefer that they call you)
-
Additional Details: Not required
-
-
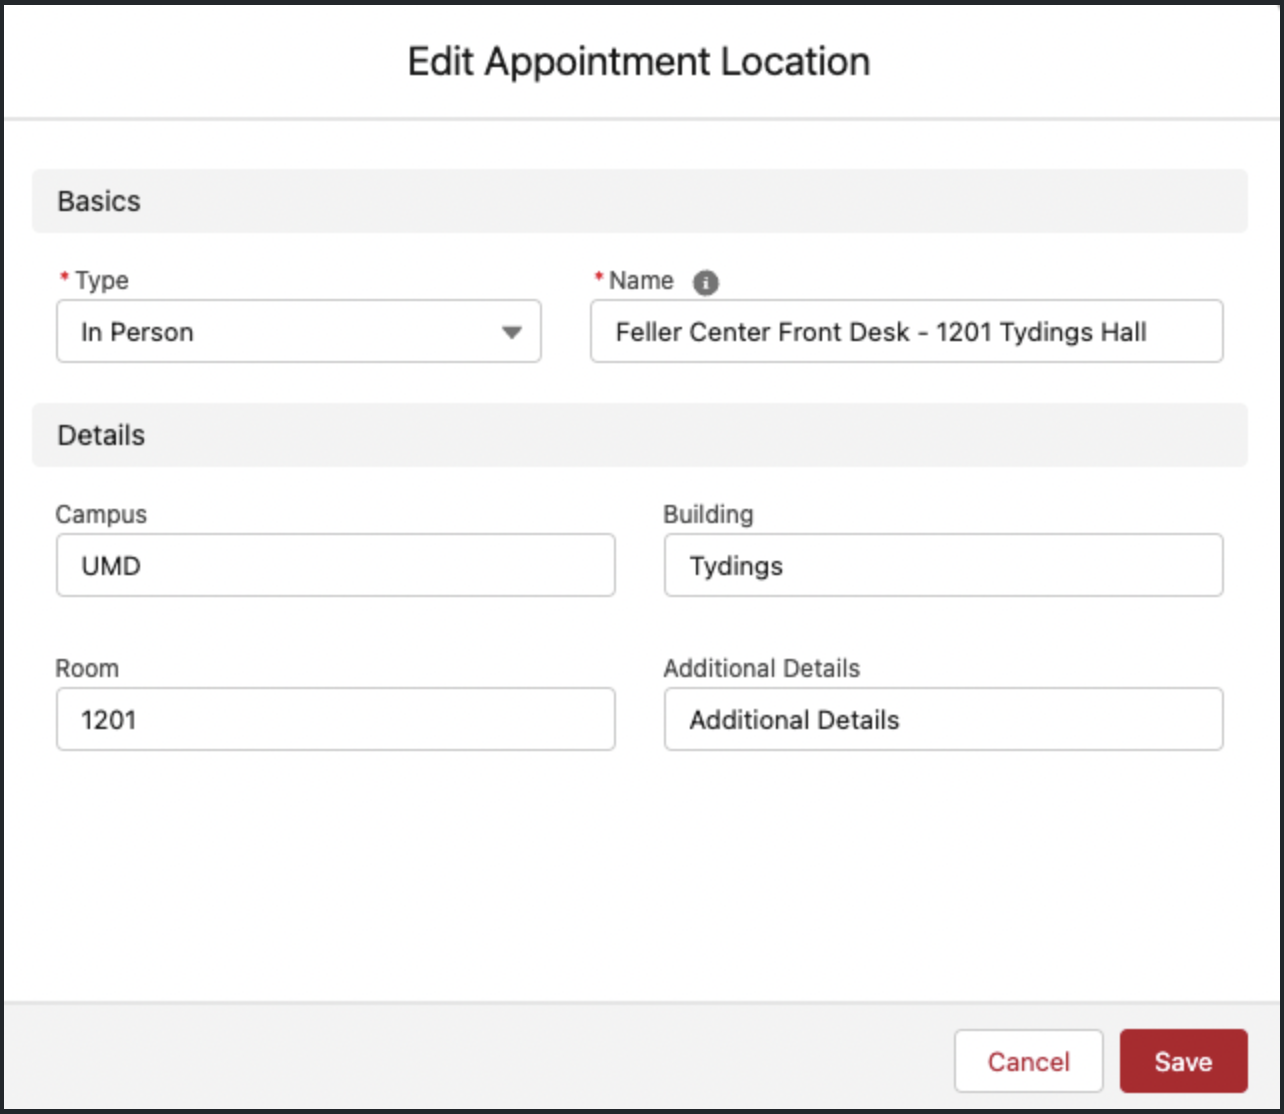
In Person appointment fields:
-
Type: In Person
-
Name: Add the full address (1201 Tydings Hall; 1570 Van Munching Hall; etc) as it will be visible to students.
-
Campus/Building/Room Number: Optional. If you put the room number/building in the "Name" it’s not necessary.
-
Additional Details: Optional (These will not appear in the email confirmation.)
-
- Be sure to click Save in the New/Edit Appointment Location window AND in the Availability Settings window to save your locations.
Last updated on
Sep 26, 2022