How to Create and Send a Note
-
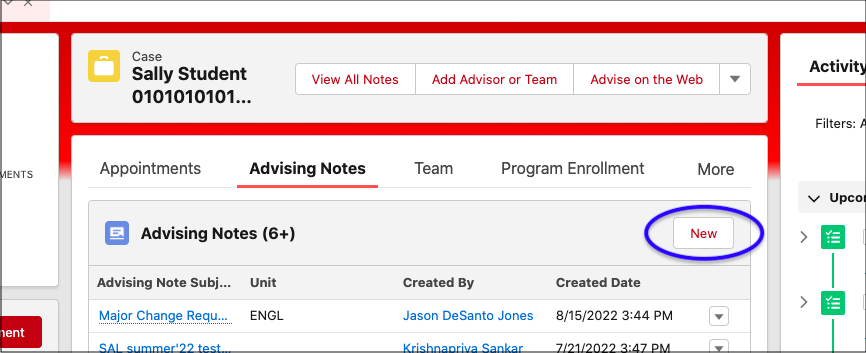
Open a student’s Advising Case and navigate to their Advising Notes either through the Note preview or by opening all of their Notes. Information about how to do this can be found in the section titled Accessing Advising Notes.
-
Click New.
-
Enter a subject line for the Note that makes sense for you.
-
There are three checkboxes to restrict or increase access to the Note. If all boxes are unchecked, the default is that the Note is viewable to all advisors, but not to students.
-
The Private checkbox makes a Note private to just you (the owner of the Note). Making a Note private means the student (and other staff/faculty) will not be able to access it.
-
Checking the Share on Student Portal checkbox allows the student to access the Note.
-
Checking the Email to Advisee checkbox means the Note will be sent to the student through email. Note that this does not make a Note available to the student on the Student Portal. After the note is emailed, the checkbox will return to an “unchecked” status in case you need to edit, save, and email another version of the note.
-
Enter the body of the Note in the “Note” textbox. Information about what should go in a Note can be found on the Advising Notes chapter landing page.
-
Click Save when you have completed the Note.
How to Edit a Note
-
Open a student’s Advising Case file and navigate to their Advising Notes using the instructions in the section titled Accessing Advising Notes.
-
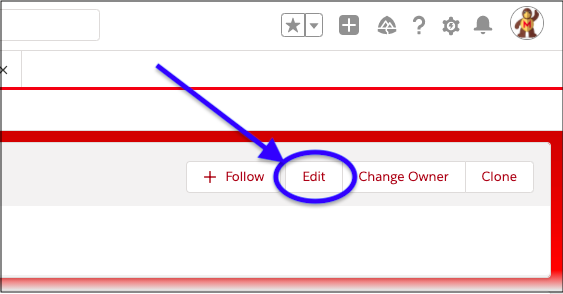
Click on the subject of the Note you would like to edit in order to open it.
-
Click Edit on the right side of the page.
-
This is where you can make changes to an Advising Note. Information about what the sharing options mean can be found above under the "How to Create and Send a Note" heading above.
-
Click Save to save your changes to the Note.