- Log into Advisor Link.
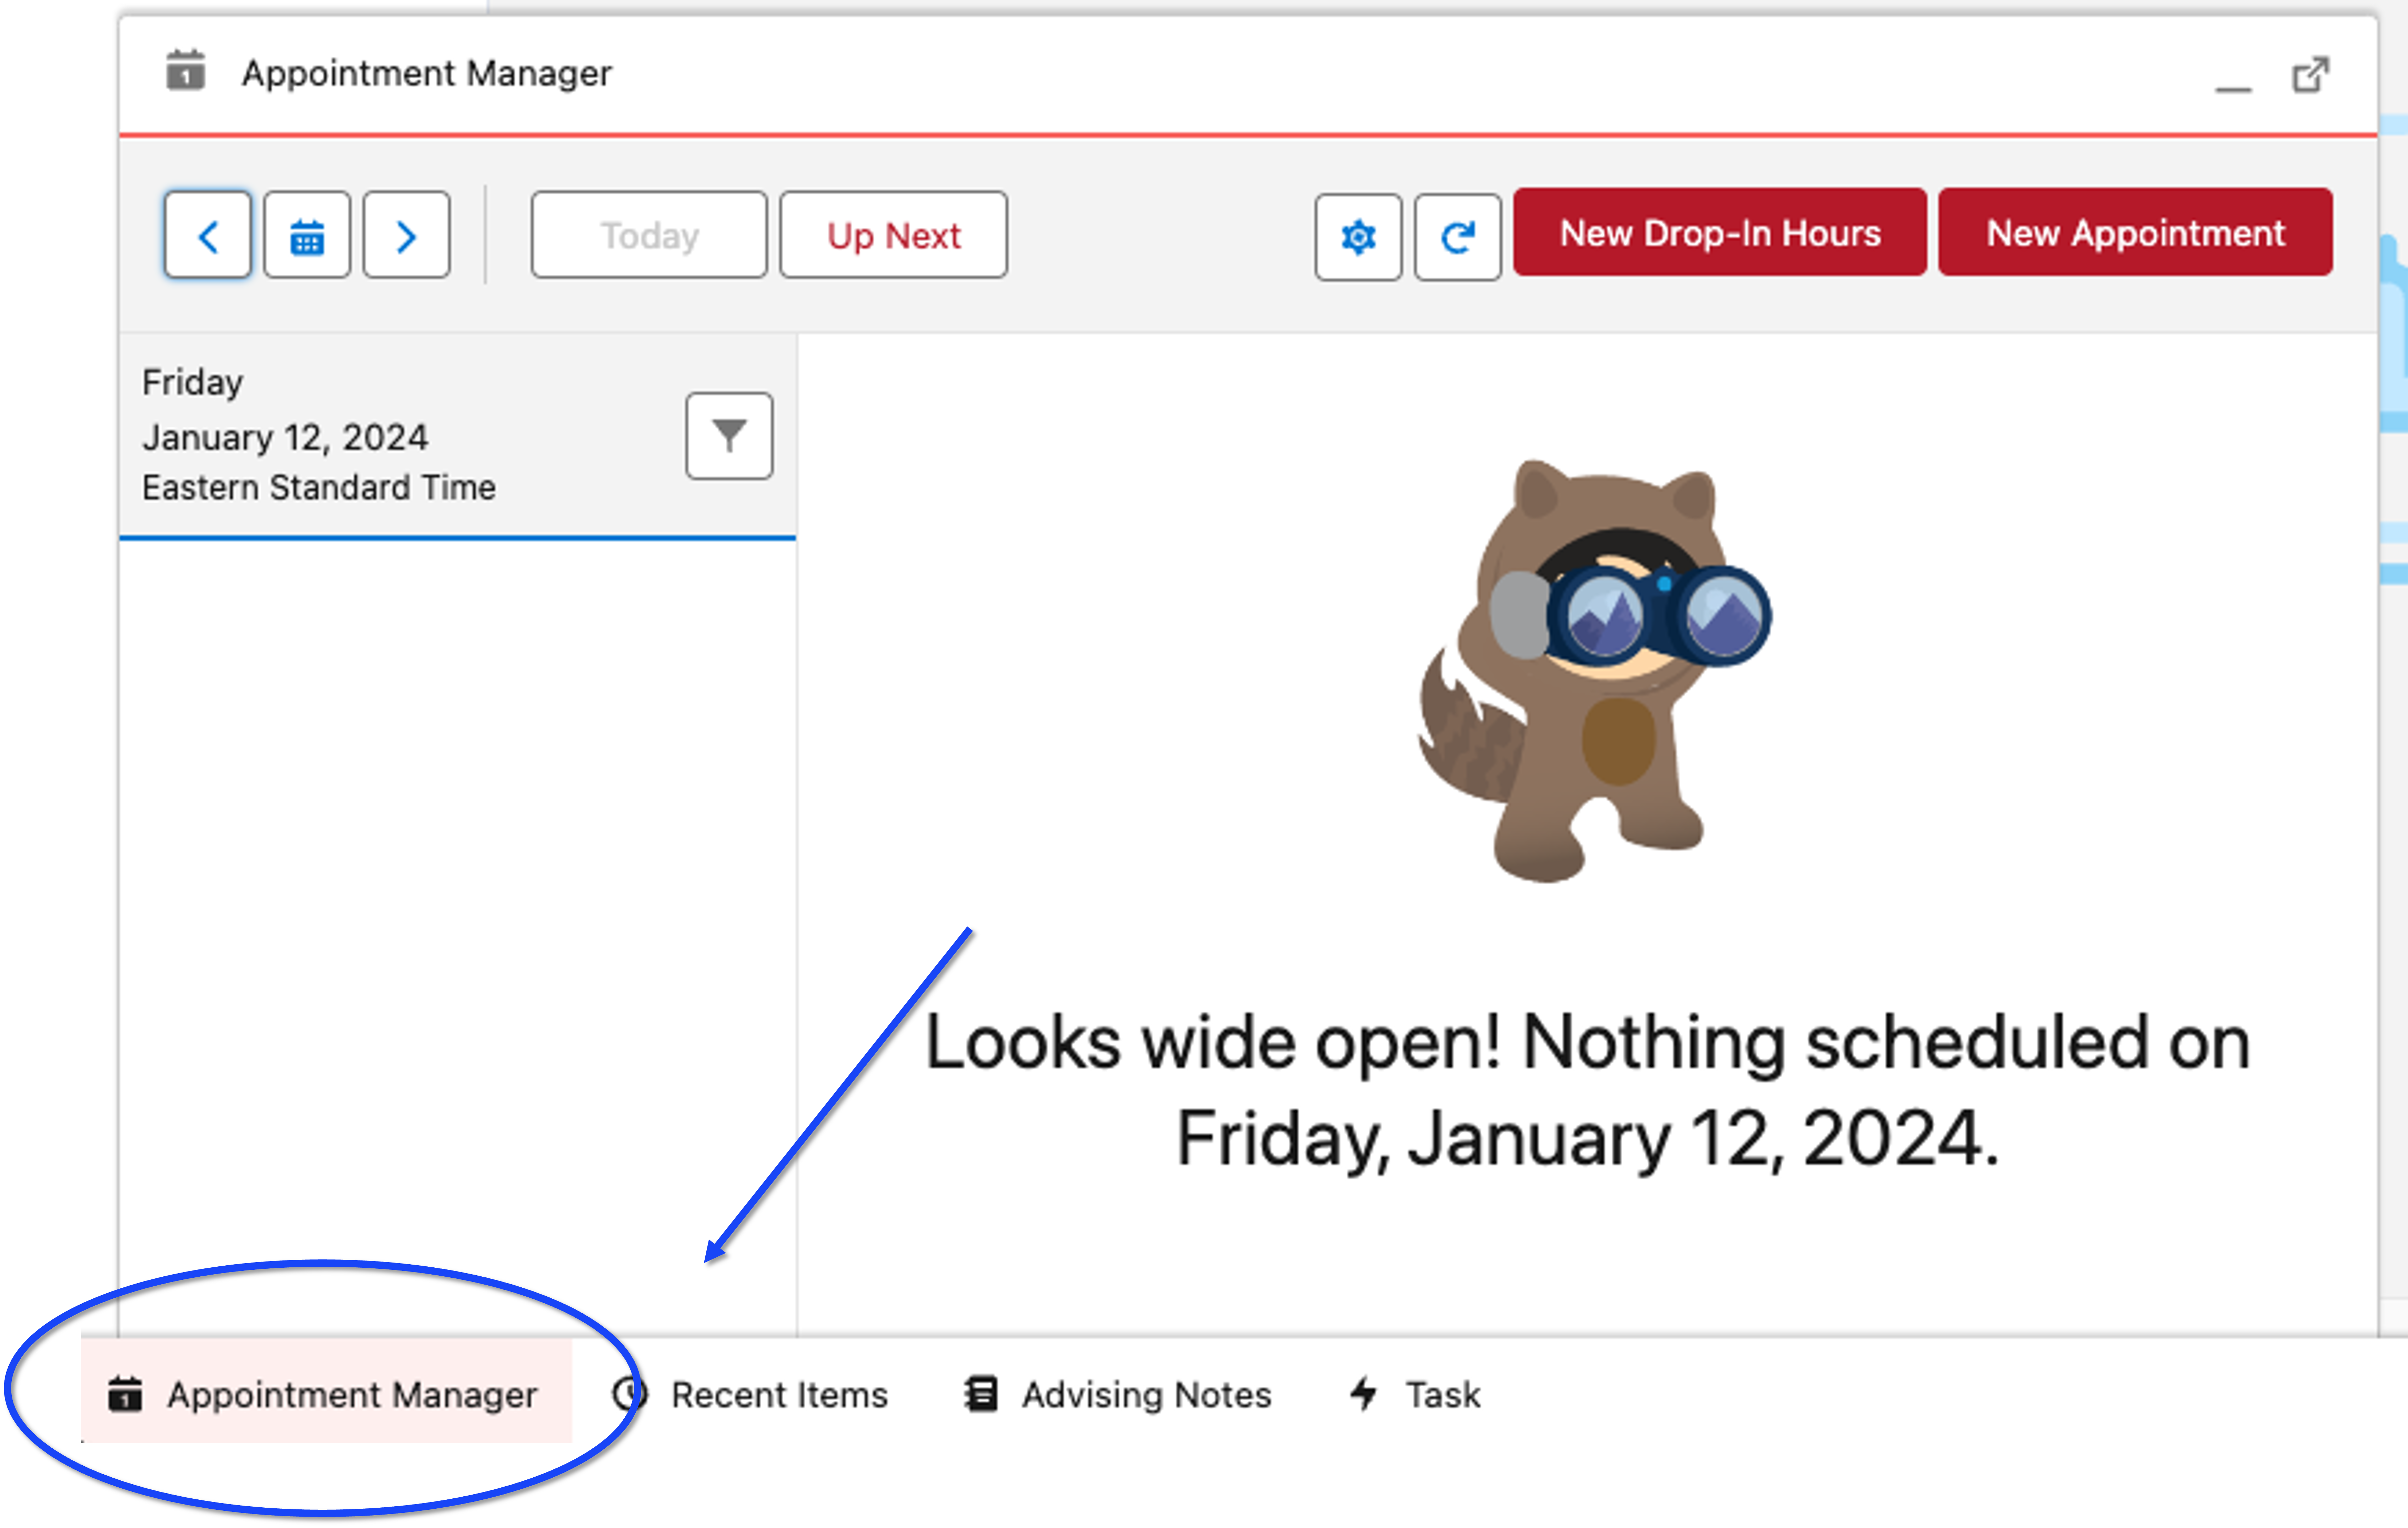
- Select “Appointment Manager” at the bottom left side of the page.
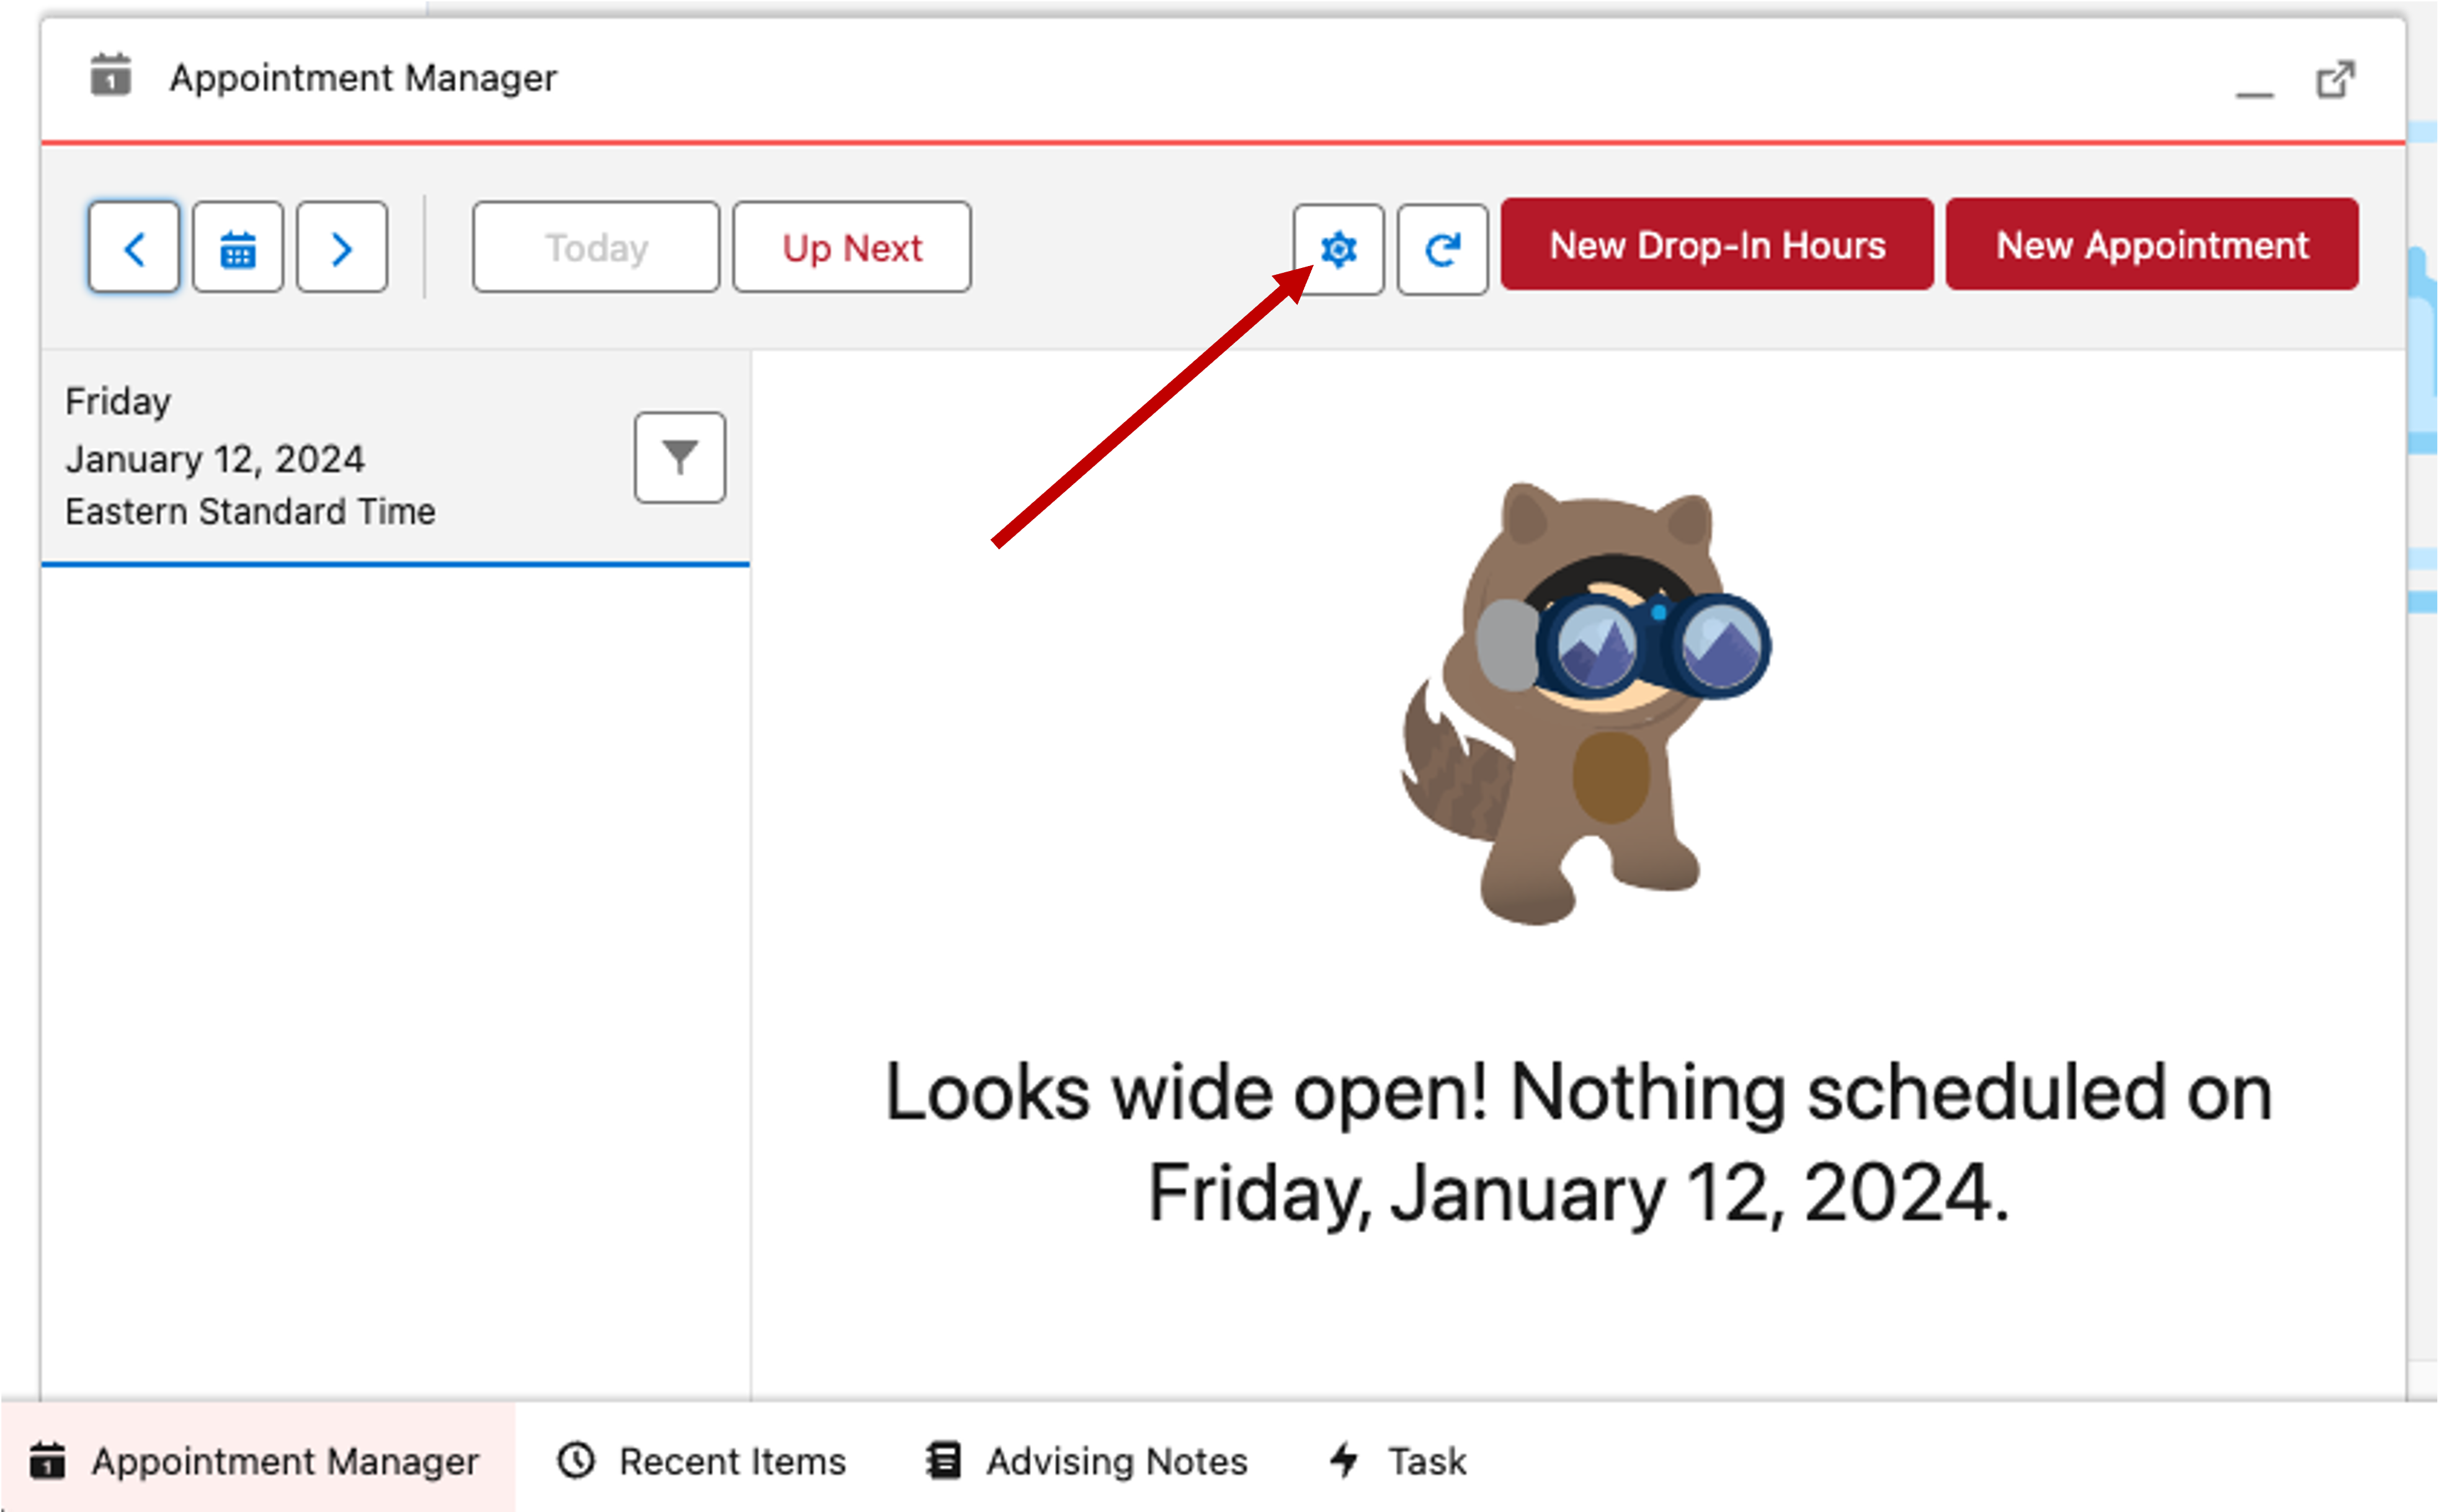
- Select the gear icon towards the top to access the setup options.
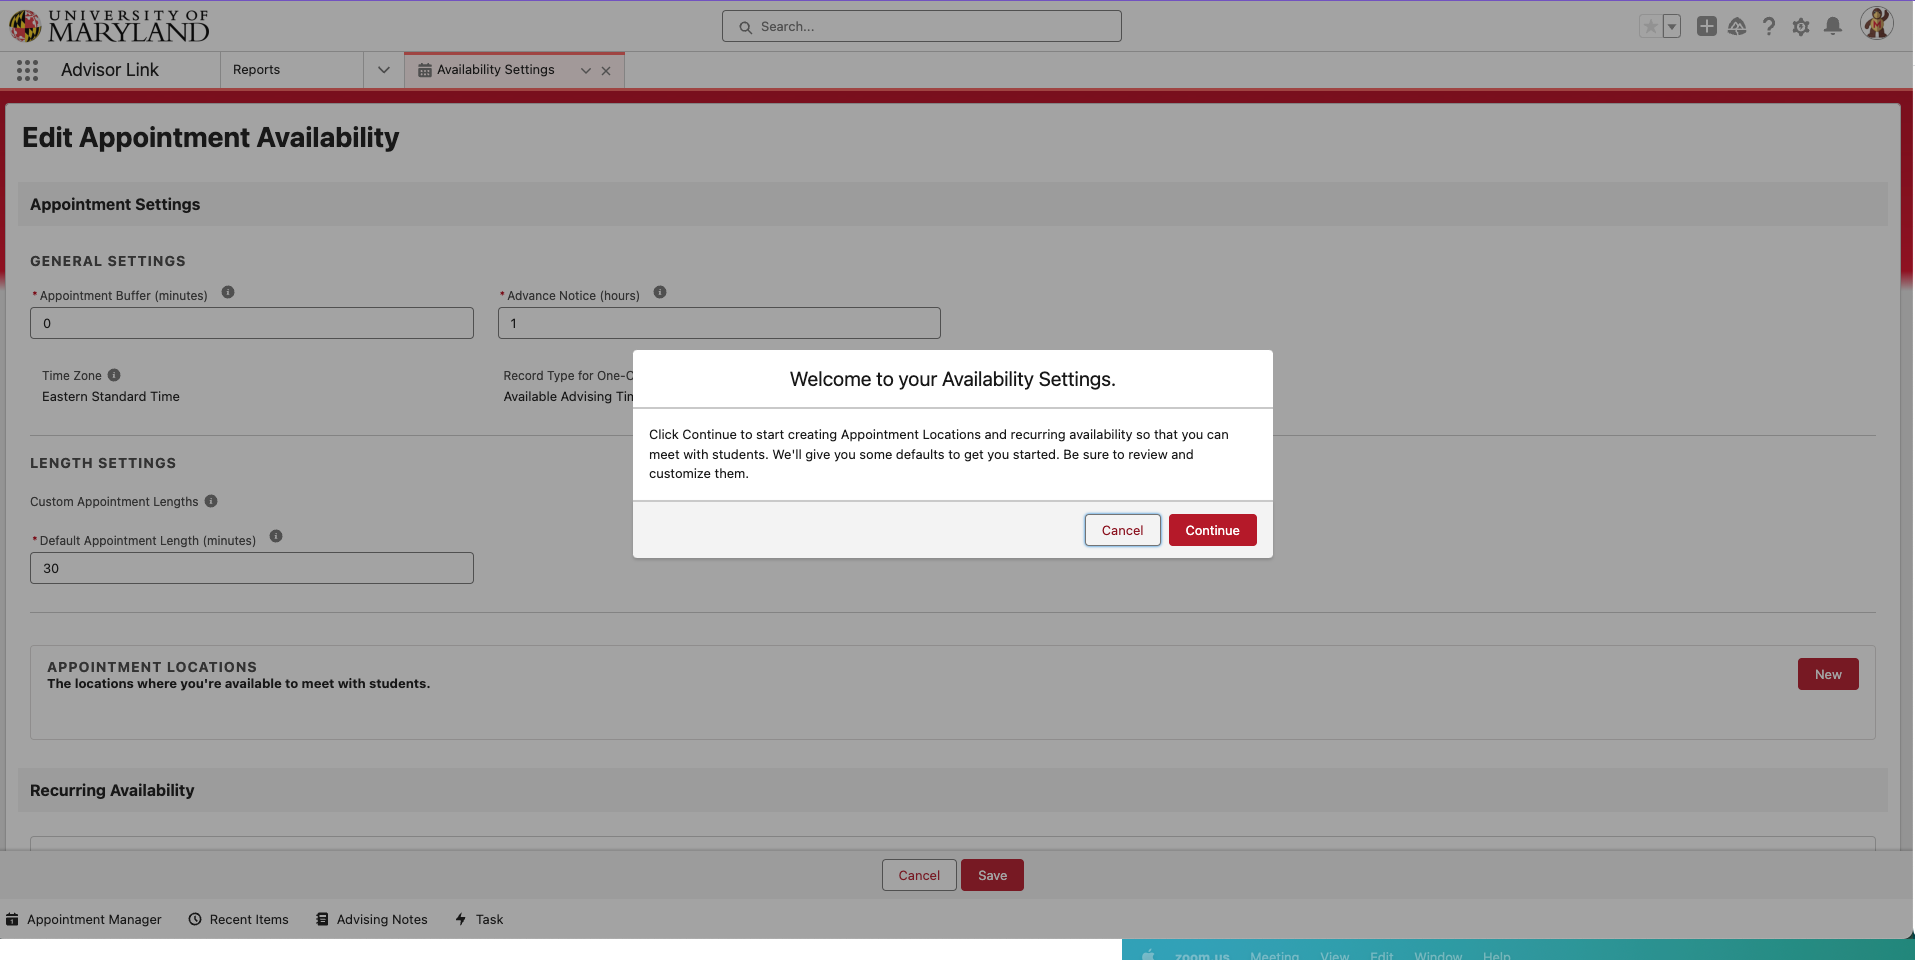
- The following screen will appear if you have not already configured your availability.
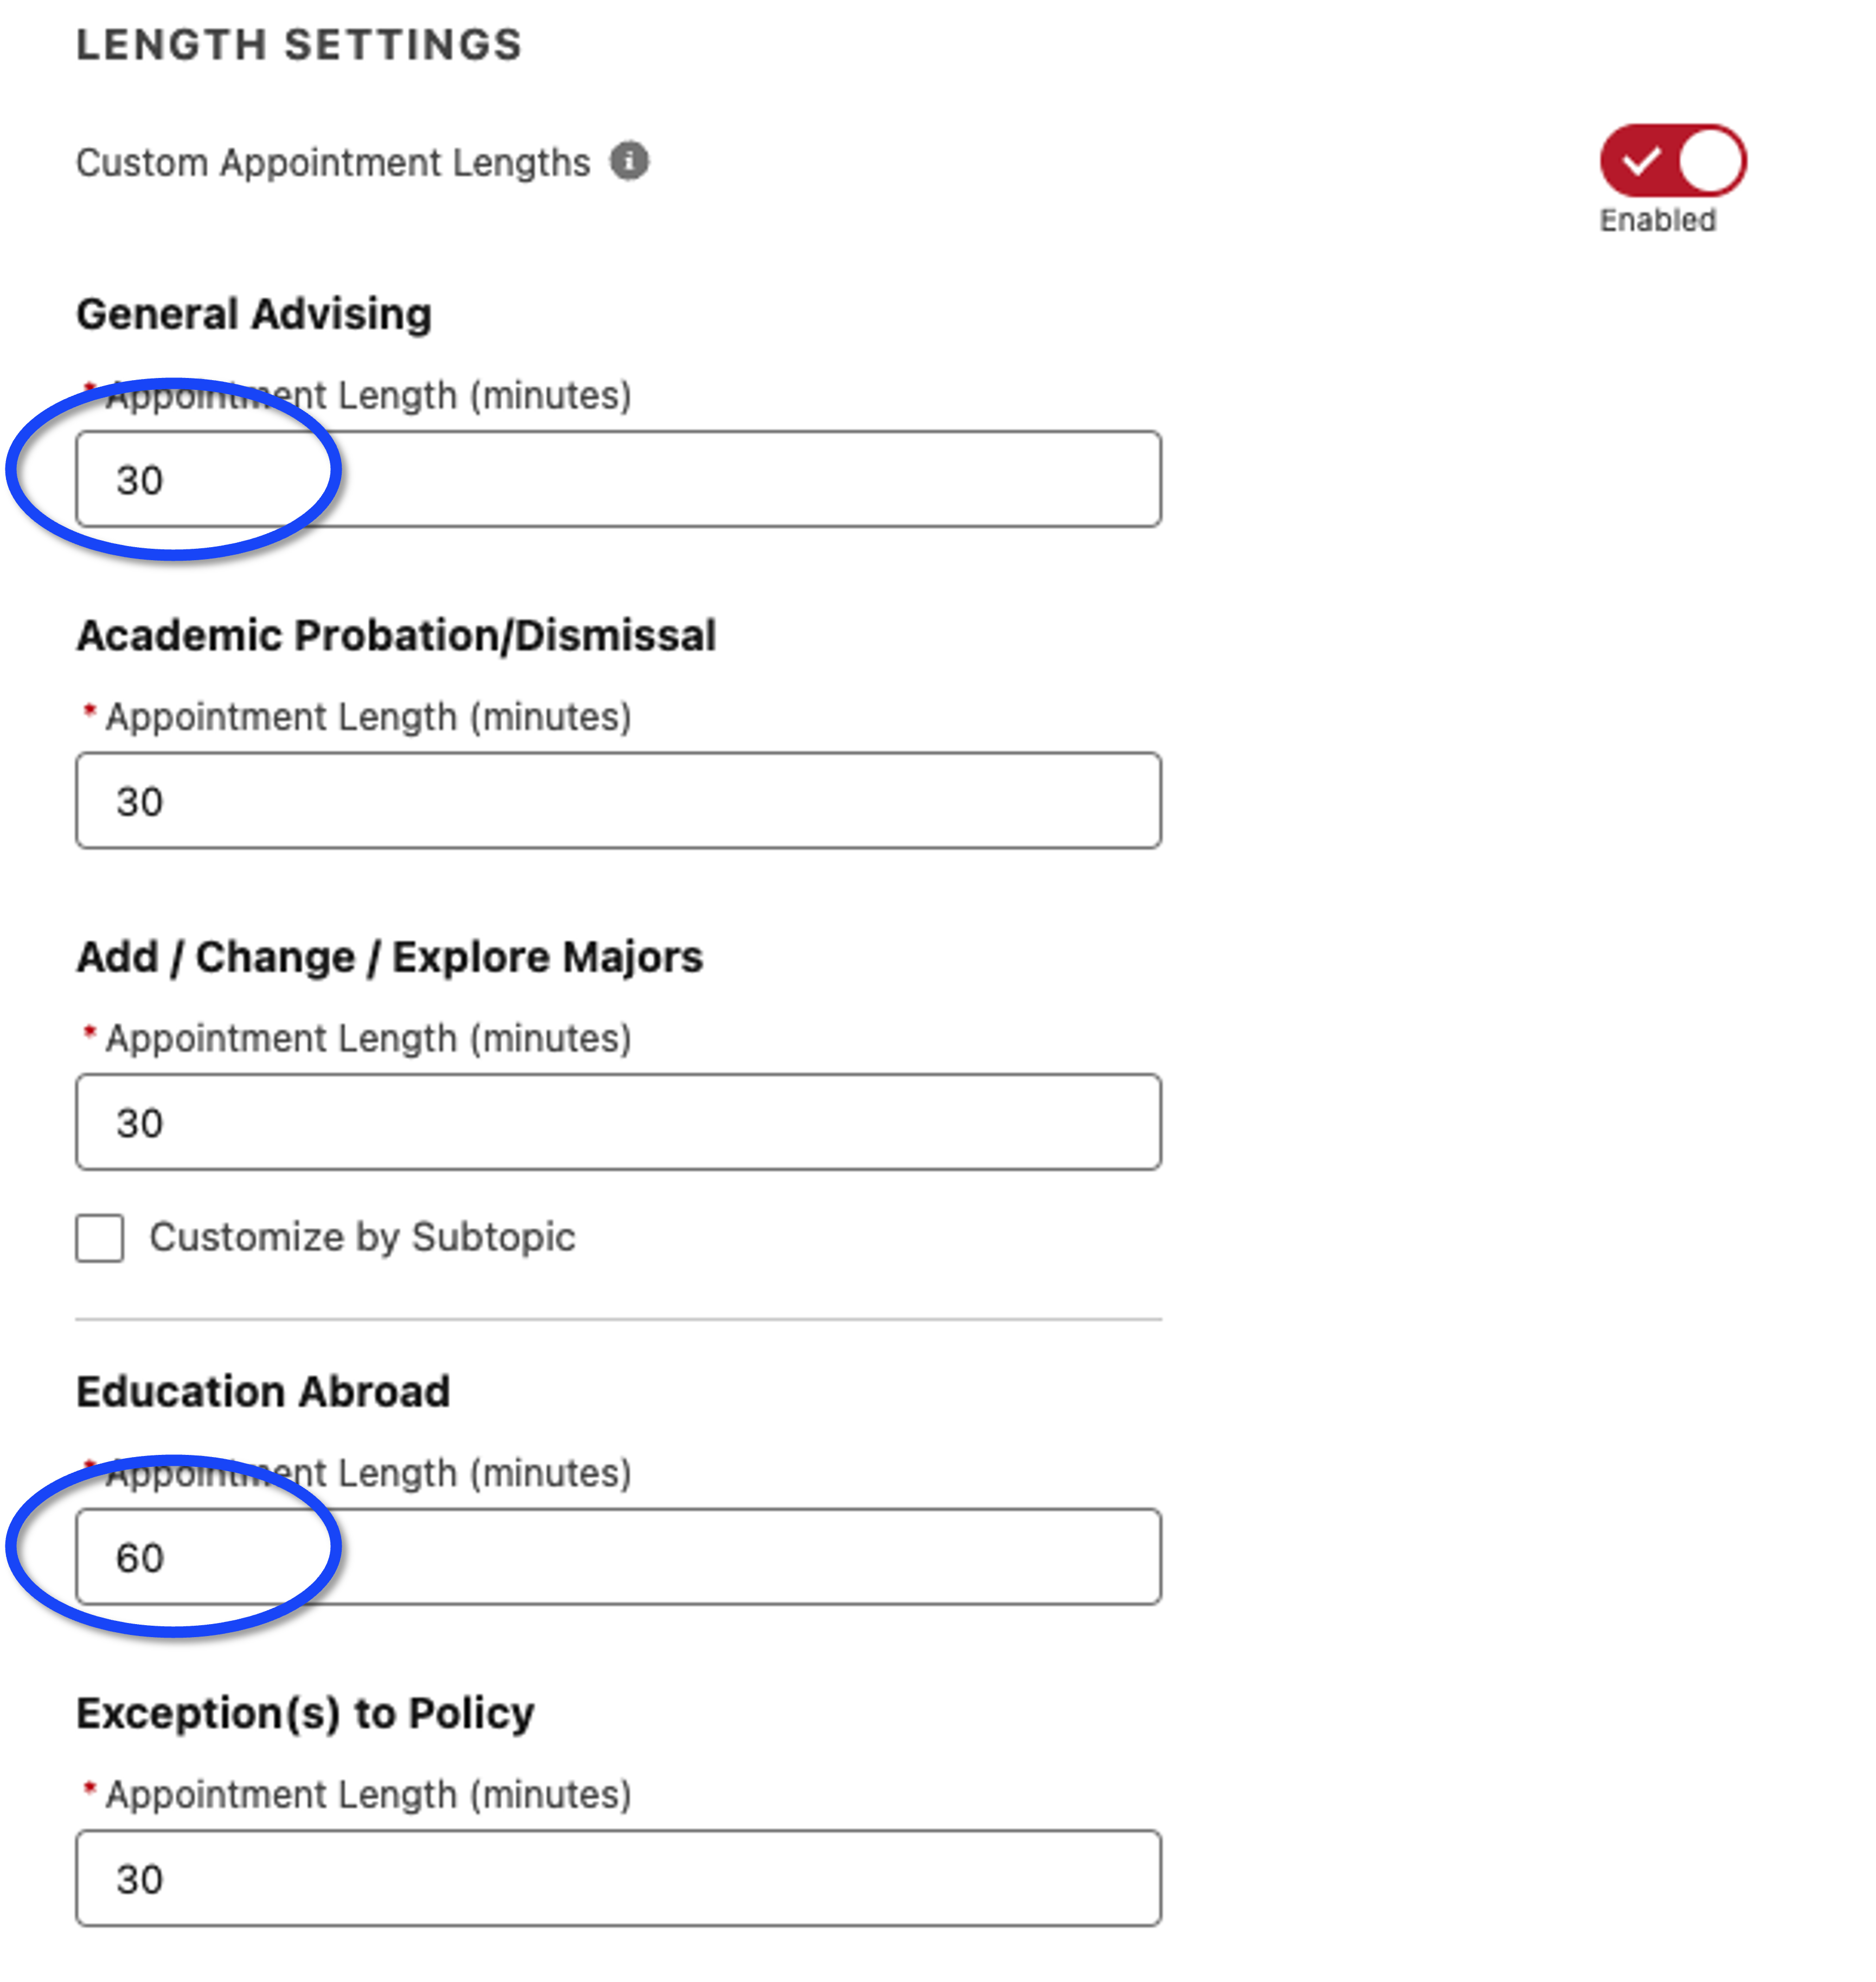
- The default length setting for all appointment types is 30 minutes. To edit this setting, toggle the “disabled” button and change it to the “enabled” status.
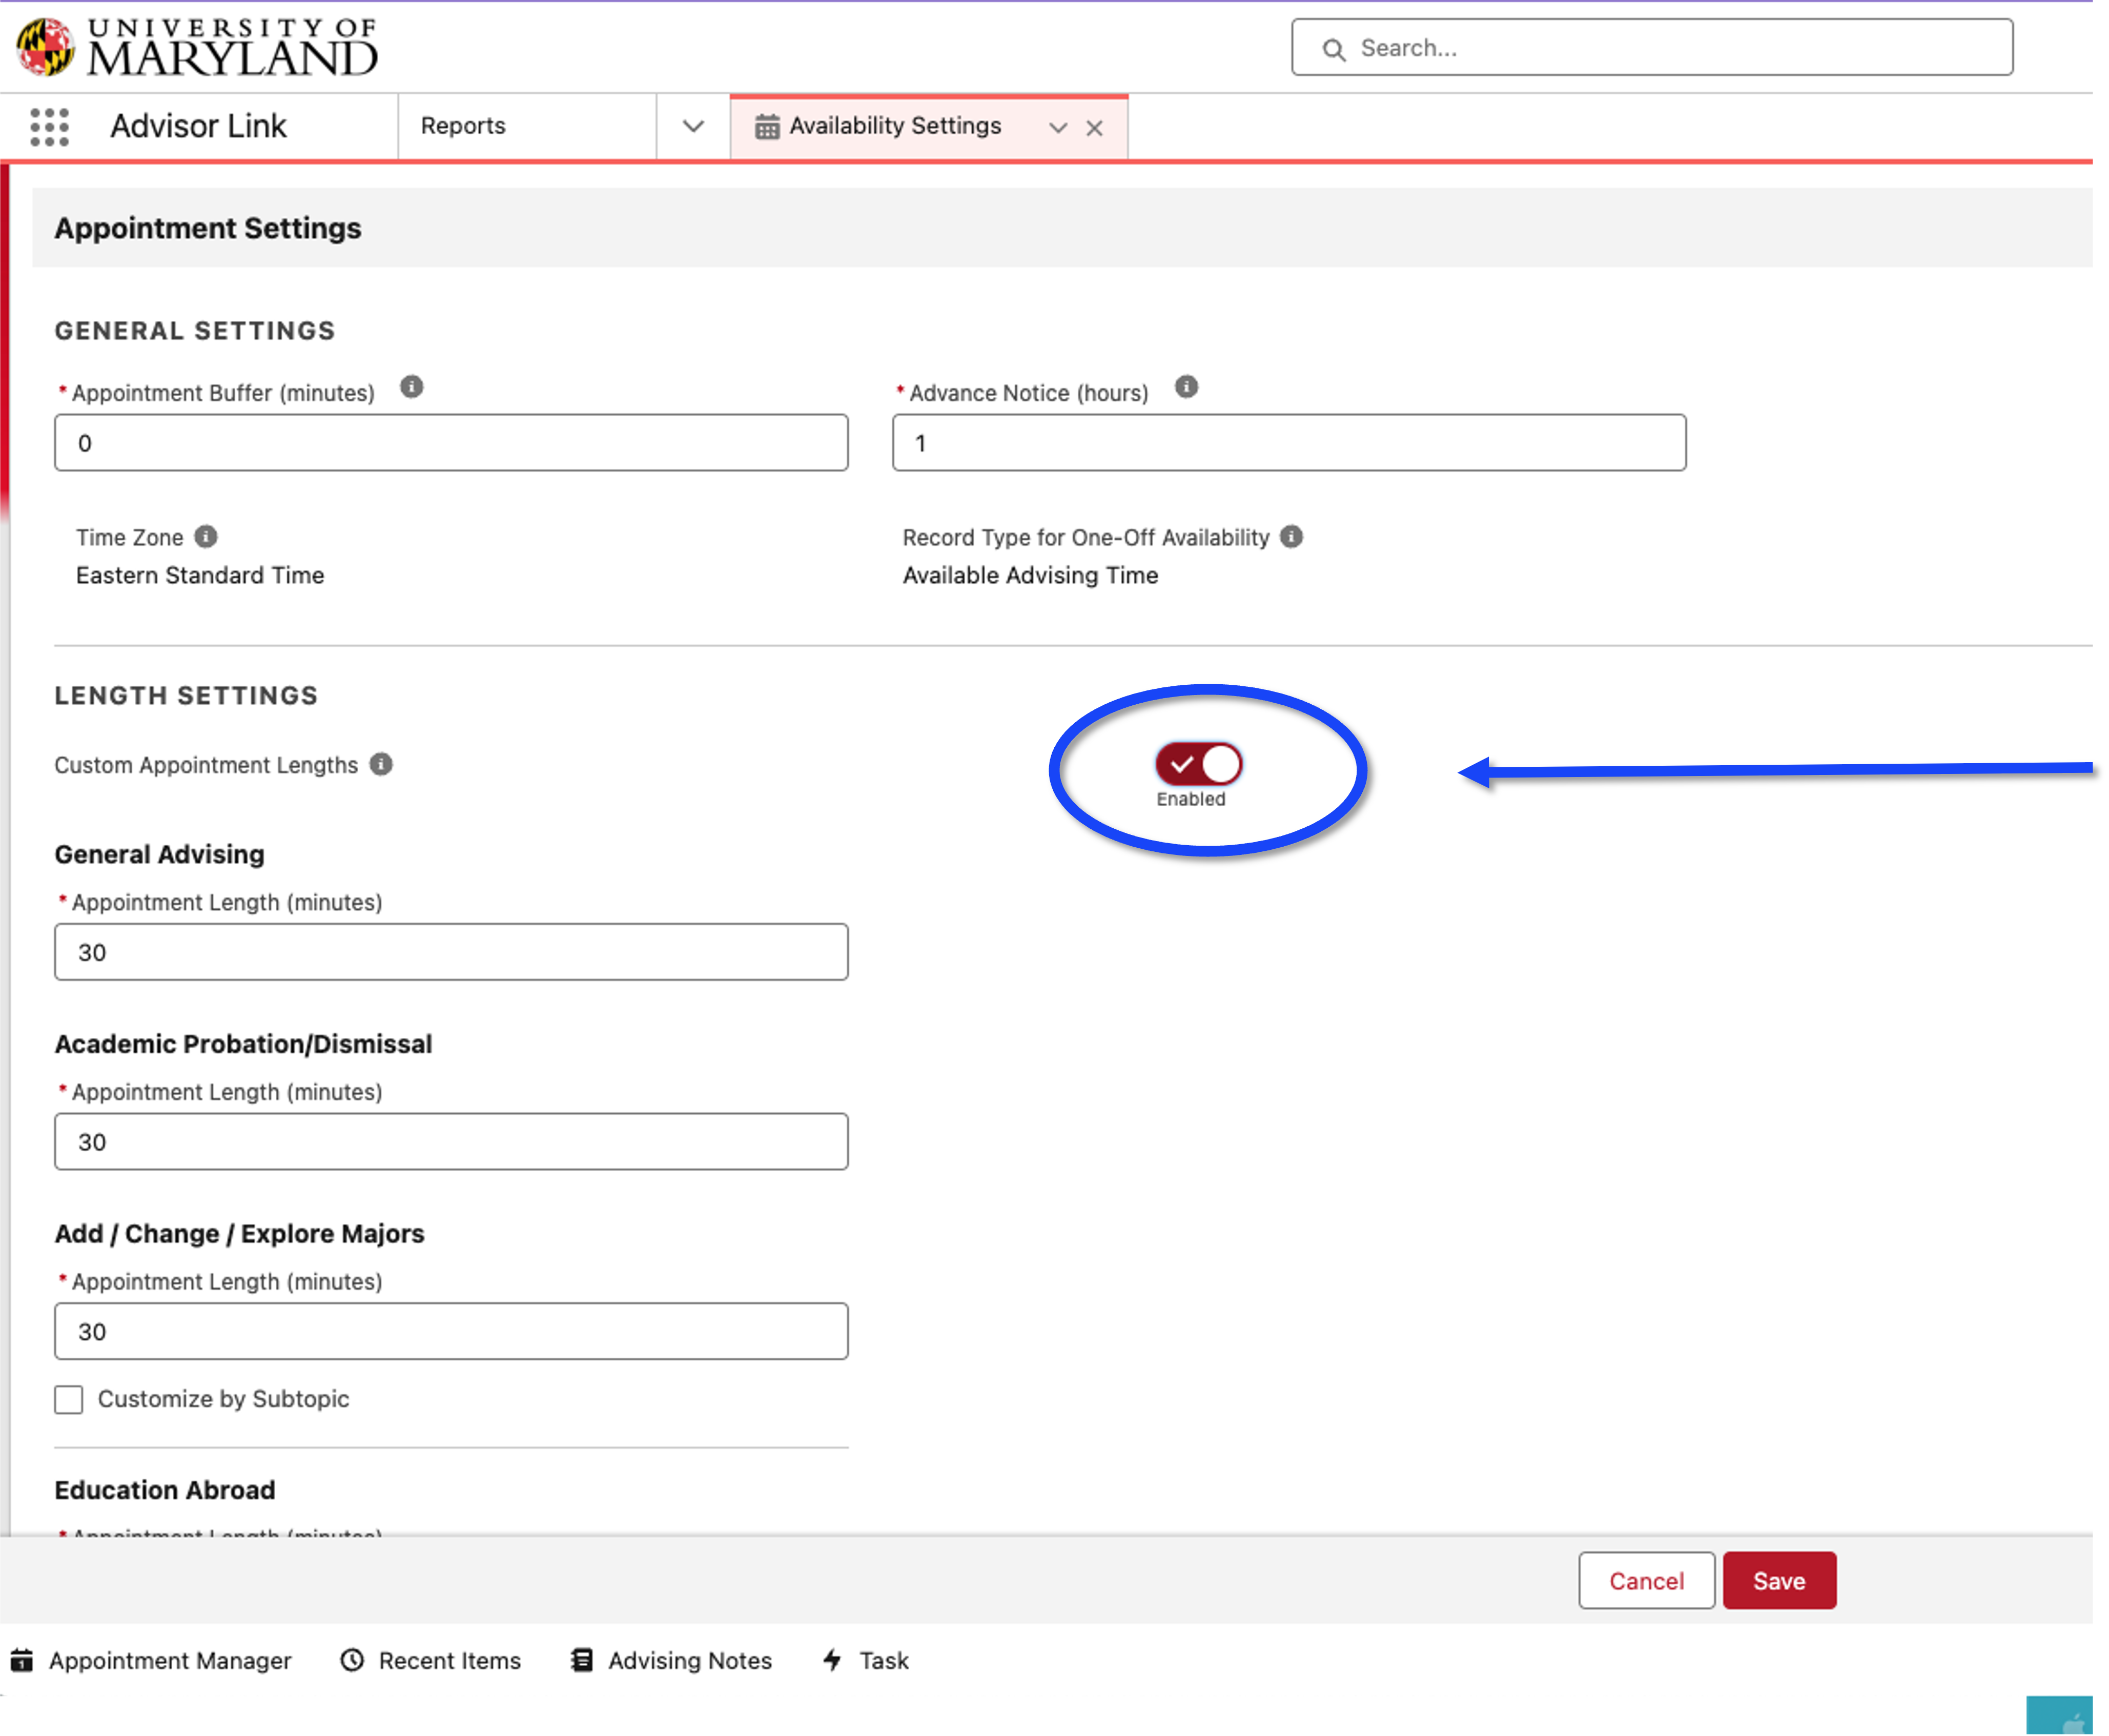
- Afterward, you can manually type in custom appointment lengths for corresponding topic areas. For example, General Advising appointments can maintain their 30-minute appointment length default, while Education Abroad appointment lengths can be updated to 60 minutes.
- Select “Save” at the bottom of the screen to save your settings and allow your audience to begin scheduling appointments with you.
Last updated on
Jan 18, 2024